Whiteout Survival Beginner Guide: Your First 7 Days, Day by Day
2026-10-238 min readBy PAWNS Team
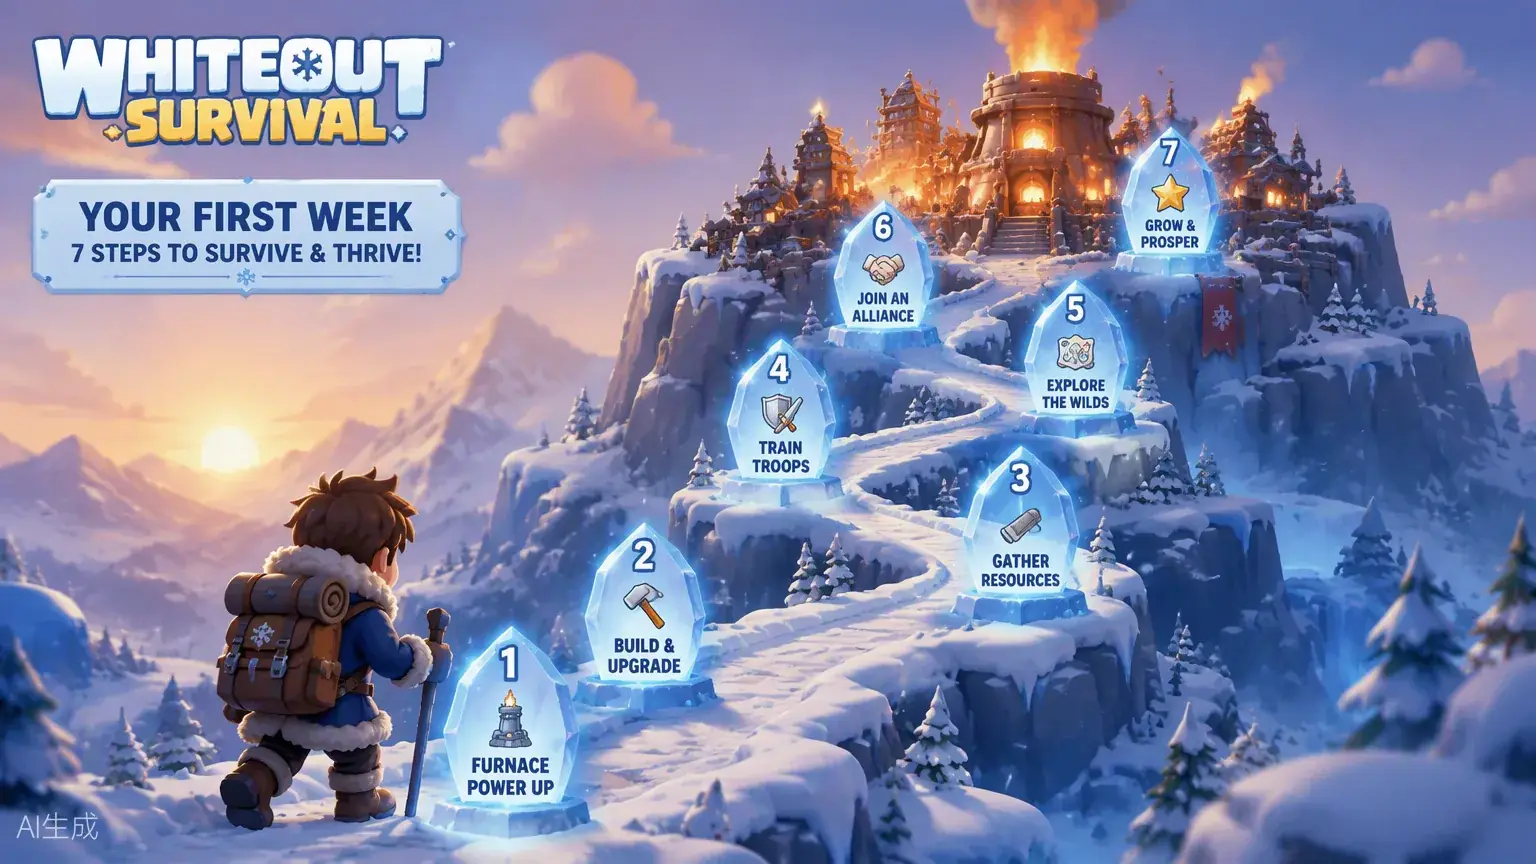
Most tips-and-tricks lists for beginners are random tips in a random order. This beginner guide is different: it is a schedule. Whiteout Survival unlocks content by state age — hero generations, events and entire systems arrive on fixed days — so what matters in week one is doing the right things before each unlock, not doing everything at once.
TL;DR
- The Furnace is the level cap for every other building. When in doubt, upgrade the Furnace.
- Assign every survivor to a job. An idle survivor produces nothing.
- Join an active alliance on day 1 — helps, gifts and event access outweigh everything else early.
- Hoard speedups, shards and gems. Spend them only when a scoring event pays you for spending.
- Never spend Frost Stars or gems on raw resources you can gather for free.
01Day 1 — Set up the engine
- Register, claim the starter rewards, and redeem every gift code on our codes page.
- Push the Furnace upgrade priority first: the Furnace caps all building levels, hero level and troop tiers. Clear the Chapter missions — they are the fastest early source of resources and they walk you through the nine starter buildings: Furnace, Shelter, Sawmill, Coal Mine, Iron Mine, Clinic, Cookhouse, Explorer’s Cabin, Hunter’s Hut.
- Assign survivors the moment a workstation opens: Hunters (meat), Cooks (meals), Woodcutters (wood), Miners (coal, then iron). Keep every bed inside the Furnace heat zone — survivors outside it get cold, sick and stop producing.
- Join an alliance today, not “when you’re stronger.” Alliance helps cut upgrade timers from day one, and alliance gifts are a real income stream.
- Start Exploration from the Explorer’s Cabin; it is your early source of hero XP, skill manuals and keys.
02Days 2–3 — Production and your first heroes
- Keep both build queues and the Research Center running at all times. A queued-nothing hour in week one is gone forever.
- Your first reliable hero is Molly — the free Gen 1 Lancer every account gets carries early Exploration and your first rallies. Level the heroes you actually field; hero level is shared and gated by Furnace level, so a focused roster beats a wide one.
- Use Chief Orders from the Chief’s House bookshelf: Rush Job for instant worksite output, Double Time for construction, Comprehensive Care the moment sickness appears.
- Send marches gathering on the Icefield whenever you’re offline — iron first, it is the scarcest of the four basic resources and the classic mid-game bottleneck.
03Days 4–5 — Troops, intel and the first events
- Train troops continuously in all three camps. Know the counter triangle now, because several popular guides print it backwards: Infantry counters Lancers, Lancers counter Marksmen, Marksmen counter Infantry.
- Clear intel missions daily for stamina-efficient rewards, and keep the Infirmary levelled — wounded troops overflow it and die.
- Your first scoring events (Hall of Chiefs era) reward spending you were going to do anyway. This is why the hoarding rule exists: upgrades done on a scoring day earn points and prizes; the same upgrades a day early earn nothing extra.
04Days 6–7 — Prepare for what’s coming
- Gen 1–8 heroes are available from Day 1 and Gen 9 lands on Day 22 — check the unlock timeline on our homepage roadmap and start saving hero shards now instead of scattering them (the hero investment guide explains which hero each generation is worth saving for).
- Settle into the daily routine: claim daily VIP and login rewards → helps → intel → Exploration idle rewards → gathering marches out → queues full → event tasks.
- Pick your alliance for the long term: an active mid-tier alliance where you get rally spots beats a top alliance where you watch.
05The 7 beginner mistakes that cost the most
- 1Spending speedups the moment a timer feels long. Speedups are event points waiting to happen.
- 2Spreading hero shards across every hero. A Mythic hero needs roughly 600 shards to reach 5 stars. Ten half-built heroes lose to two finished ones.
- 3Buying resources with gems or Frost Stars. Resources are the one thing the game gives away free through gathering and production.
- 4Leaving survivors unassigned after a new building opens.
- 5Skipping the second build queue. If you spend Frost Stars on one thing early, the permanent extra construction queue is the highest-return purchase in the game.
- 6Playing solo. Nearly every high-value event — Bear Hunt, Foundry Battle, Castle — is alliance content.
- 7Upgrading every building evenly. The upgrade order is always the same chain: Furnace → its prerequisite buildings → camps and Research Center → the rest.
FAQ
What should I upgrade first in Whiteout Survival?
▾
The Furnace, then whatever building the next Furnace level requires, then your troop camps, Embassy and Research Center. Everything else fills gaps.
Which hero should a beginner invest in?
▾
Molly early, then save Mythic shards for your generation’s key hero — see the hero investment guide for the generation-by-generation order.
When do new heroes and events unlock?
▾
By state age on PAWNS’ accelerated schedule: Gen 1–8 heroes are available from Day 1, Gen 9 arrives on Day 22, the Fire Crystal Age opens on Day 59, and the War Academy on Day 100 — the State Age Calculator has the full milestone table.
Next step
The hero investment guide shows exactly which hero in each generation deserves your shards — read it before you spend a single Mythic shard.
Best Hero in Every Generation
Ready to start your own state?
VIP 8 on signup, a new state every 2 days, and gift codes waiting in your mailbox.